
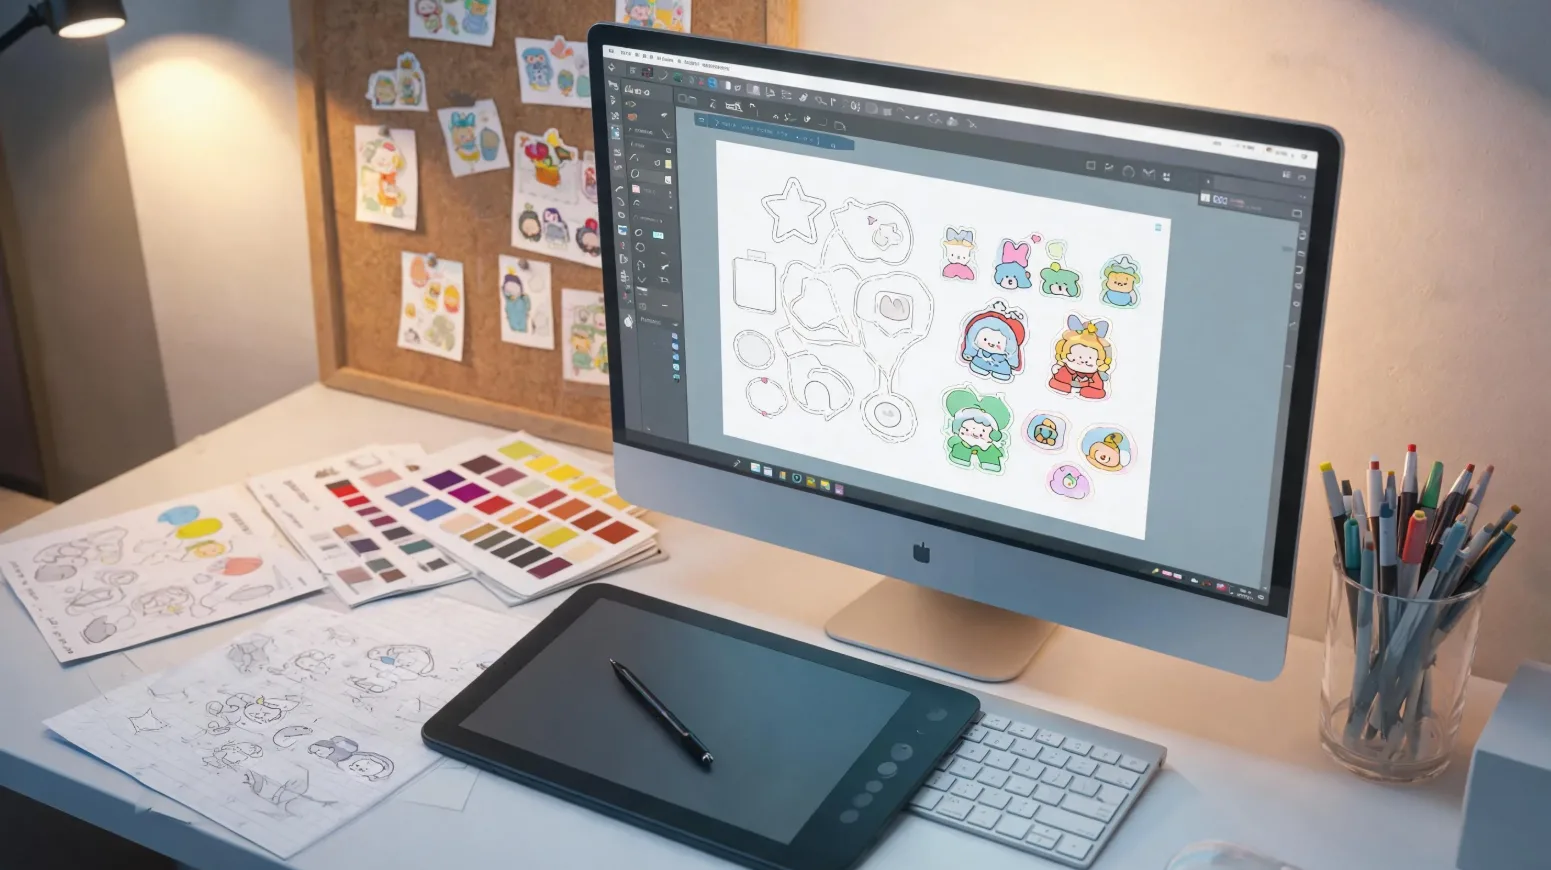
Great printing starts with a correctly set-up file. Get the size, bleed, and resolution right and your sticker prints exactly as designed — sharp edges, true colors, no surprises. This guide walks through the full artwork setup, accepted file types, and the six steps from idea to printed sticker.
At StickerJaki, a free design proof and a free design support team catch any file issues before printing — and we provide dieline templates so your setup is right the first time.
Step-by-step: set up your sticker artwork
1. Choose size & shape. Decide final dimensions and whether it’s die-cut (custom shape) or a standard shape. Bigger isn’t always better — match the size to where it’ll be applied.
2. Download a dieline template. Grab the correct dieline template for your size. It defines the cut line, safe zone, and bleed so nothing important gets trimmed.
3. Set up bleed (0.125″). Extend your background 0.125 inch (3 mm) beyond the cut line. Keep text and logos at least 0.125″ inside the cut line (the safe zone) so they’re never clipped.
4. Export at 300 DPI. Save as a vector PDF or AI (best) or a 300 DPI PNG. Use CMYK color for accurate printing. Outline fonts so they render correctly.
5. Submit for a free proof. Send your file and we’ll send a digital proof showing exactly how it’ll cut and print.
6. Approve & print. Confirm the proof and production begins — typically 3–5 days.
What file types do you accept?
| File type | Accepted? | Notes |
|---|---|---|
| AI | Yes — best | Native vector; ideal. Outline fonts. |
| Yes — best | Vector PDF preferred; keep bleed. | |
| SVG | Yes | Vector; great for clean shapes. |
| PNG | Yes | Use 300 DPI with transparent background. |
| JPEG | Limited | No transparency; only if 300 DPI and high quality. |
What bleed do stickers need?
Stickers need 0.125 inch (3 mm) of bleed on all sides — background color or imagery extended past the cut line. Cutting has a tiny tolerance, and bleed guarantees no white slivers appear at the edge. Pair it with a 0.125″ safe zone inside the cut line for all text and key elements.
What resolution is required?
Use 300 DPI at final print size for raster art (PNG/JPEG), or supply vector art (AI/PDF/SVG), which is resolution-independent and always crisp. Avoid upscaling small web images — they’ll print blurry.
Can I use Canva for sticker design?
Yes — Canva works if you export correctly: design at the final size, add a background that extends to the page edges for bleed, and export as a PDF Print or high-resolution PNG. For die-cut shapes, our team can add the cut line for you. If you’re unsure, send the file and we’ll set it up.
Get your artwork print-ready
Download free dieline templates or let our design team set it up for you — free proof included. Message us on WhatsApp or email contact@stickerjaki.com. See full specs in our sticker file requirements, explore design services, or start a custom order.