
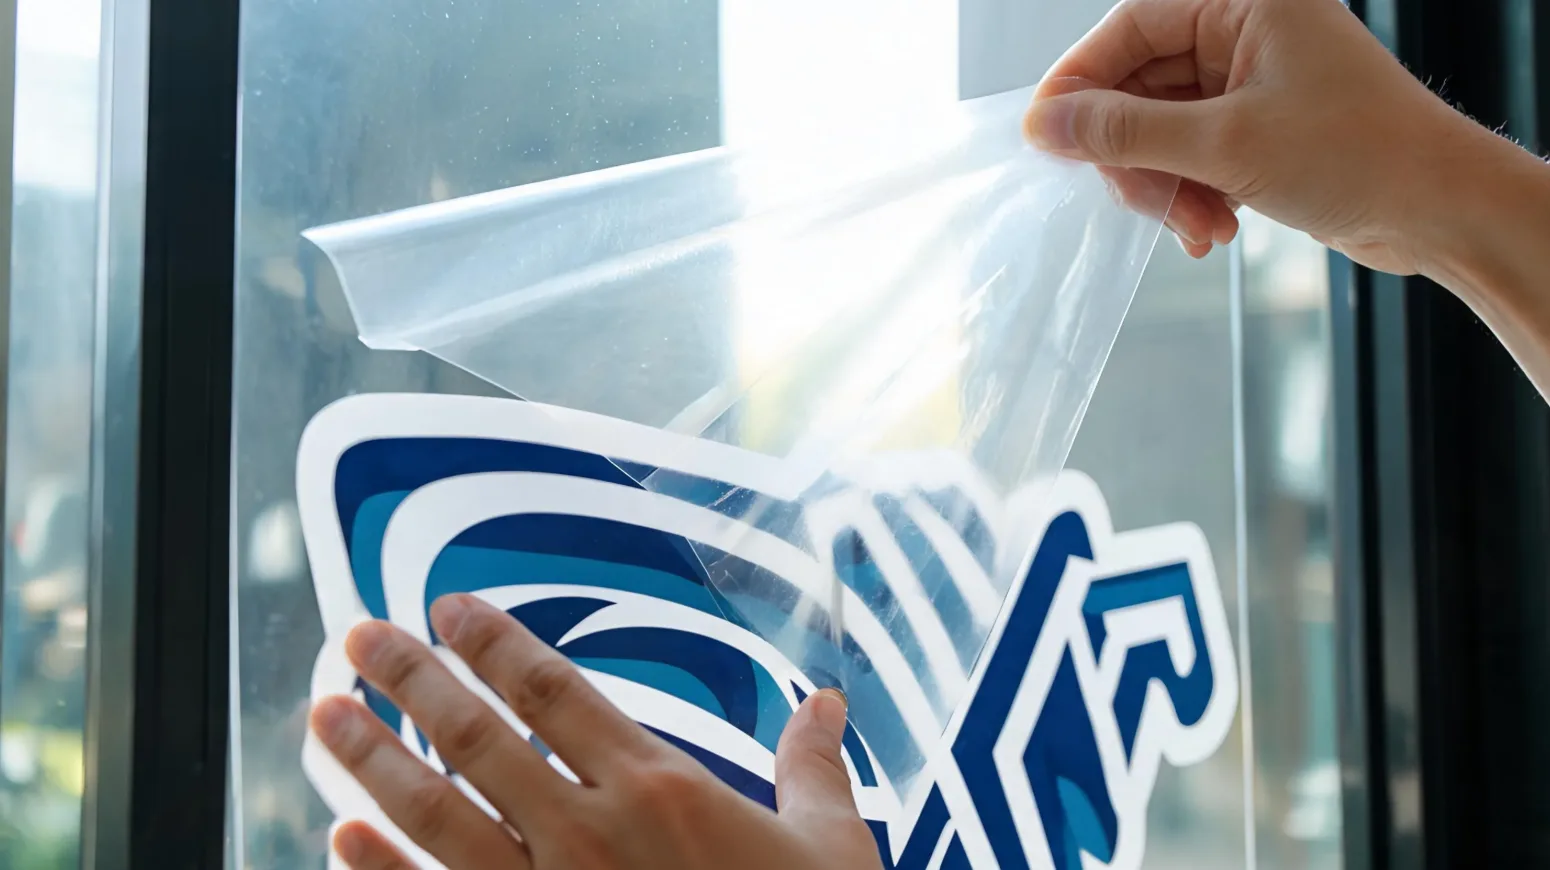
A transfer sticker is a decal that moves your design from a paper backing onto a surface using a layer of application tape, so only the artwork ends up on the wall, glass, or laptop — with no visible sticker sheet around it. That “floating” look is why they’re used for logos, lettering, and layered shapes. Below we explain what they are, how they differ from ordinary stickers, and the exact steps to apply one without bubbles.
What is a transfer sticker?
A transfer sticker (also called a transfer decal or multi-layer transfer sticker) is made of three layers: a paper or plastic backing, your cut vinyl design, and a top layer of transfer tape. The tape holds every piece of the design in position while you lift it off the backing and lay it onto the final surface. Because the negative space is weeded away, the finished result looks like the design was printed directly onto the surface.
How is it different from a normal sticker?
A regular sticker is a single die-cut piece you peel and stick. A transfer sticker is applied through tape, which lets multiple separate elements — like individual letters — stay perfectly aligned. This makes transfer stickers ideal for text and precision multi-layer decals, but a little more involved to apply.
| Transfer sticker | Regular sticker | |
|---|---|---|
| Layers | Backing + vinyl + transfer tape | Backing + vinyl |
| Application | Applied via tape, backing removed | Peel and stick directly |
| Best use | Lettering, logos, multi-piece designs | Single shapes, labels, fun decals |
| Difficulty | Moderate | Easy |
Step-by-step application
- Clean the surface. Wipe with isopropyl alcohol and let it dry fully. Grease and dust are the number one cause of lifting edges.
- Position with tape. Hold the sticker up, line it up, and fix one edge down with a strip of masking tape as a hinge.
- Burnish firmly. Peel off the paper backing, lay the design down from the hinged edge, and rub the whole surface with a card or squeegee to bond the vinyl.
- Peel away the backing. If any part didn’t transfer, lay it back and burnish again before continuing.
- Remove the transfer tape slowly. Pull it back at a sharp angle, low and slow, so the vinyl stays on the surface and the tape lifts away clean.
Best surfaces and uses
Transfer stickers work best on smooth, non-porous surfaces: glass, windows, painted walls, laptops, water bottles, car bodywork, and signage. Custom transfer sticker shapes are popular for storefront lettering, vehicle decals, and branded packaging. For textured or curved surfaces, warm the vinyl gently and work slowly. If you’re comparing base materials first, see our guide to vinyl vs paper stickers.
Common application mistakes
- Skipping the clean-and-dry step, which traps dust under the vinyl.
- Peeling the transfer tape straight up instead of at a low angle, which lifts the design off.
- Not burnishing hard enough, so parts stay stuck to the tape.
- Applying in cold conditions — vinyl bonds best at room temperature.
For a deeper walkthrough on avoiding trapped air, read how to apply stickers without bubbles.
Frequently asked questions
What is the difference between a transfer sticker and a regular sticker?
A regular sticker is peeled and stuck as one piece; a transfer sticker uses application tape to move a multi-part or lettering design onto the surface with everything aligned.
Do transfer stickers come with application tape?
Yes — our transfer stickers include application tape, so they’re ready to apply straight away.
Can transfer stickers be removed?
They can be peeled off, though permanent-adhesive versions may leave residue. Ask for a removable adhesive if you need clean removal.
Are transfer stickers waterproof?
Vinyl transfer decals are weatherproof and suit outdoor use once fully bonded to a clean surface.
Can I get custom shapes and lettering?
Yes. Custom transfer sticker shapes, fonts, and multi-layer designs are all available.
Order transfer stickers with application tape included — ready to apply.
Buyer Notes for Transfer Stickers Explained: What They Are and How to Apply Them Like a Pro
For sticker sourcing, buyers should consider product format, finish, carton quantity, packaging style, and whether the design fits the intended retail or promotional use. StickerJaki focuses on carton-based wholesale supply, with standard product orders following MOV $200. Custom sticker pricing depends on the product type, material, finish, packaging, and quantity.
Sticker products can look similar online, but commercial results often depend on details such as adhesive choice, finish, packaging, sheet layout, and carton quantity. Buyers should match those specifications to the selling channel before choosing a product.
Quick sourcing checklist
- Define where and how the sticker will be used
- Compare material, finish, packaging, and carton quantity
- Use custom quoting when standard products do not match the project
For readers comparing options, the best next step is to move from general research to the right product or quote path. Useful resources: Wholesale sticker products · 3D relief stickers wholesale · Custom sticker manufacturing.
If the standard product range does not match the exact design, packaging, or application requirement, a custom quote is usually the better path. In that case, prepare the artwork, expected quantity, target material, finish, and packing method before contacting the supplier.
Commercial Planning Notes
Most sticker decisions become easier when buyers separate appearance from function. Appearance covers artwork style, finish, color, shape, and packaging impression. Function covers adhesive, surface compatibility, durability, carton quantity, and how the product will be handled after delivery. Both sides matter for a successful commercial sticker order.
Before placing a wholesale order, buyers should confirm the selling unit, carton quantity, product dimensions, material expectations, and whether a standard product or custom quote is the right path. This keeps the purchase aligned with retail display, online fulfillment, promotional use, or brand packaging needs.
For buyers comparing multiple sticker formats, the practical next step is to shortlist the intended use first, then match the product format to that use. Standard wholesale items are generally best for fast sourcing and retail assortments, while custom production is better when the design, material, dimensions, or packaging must follow a specific brand requirement.


