
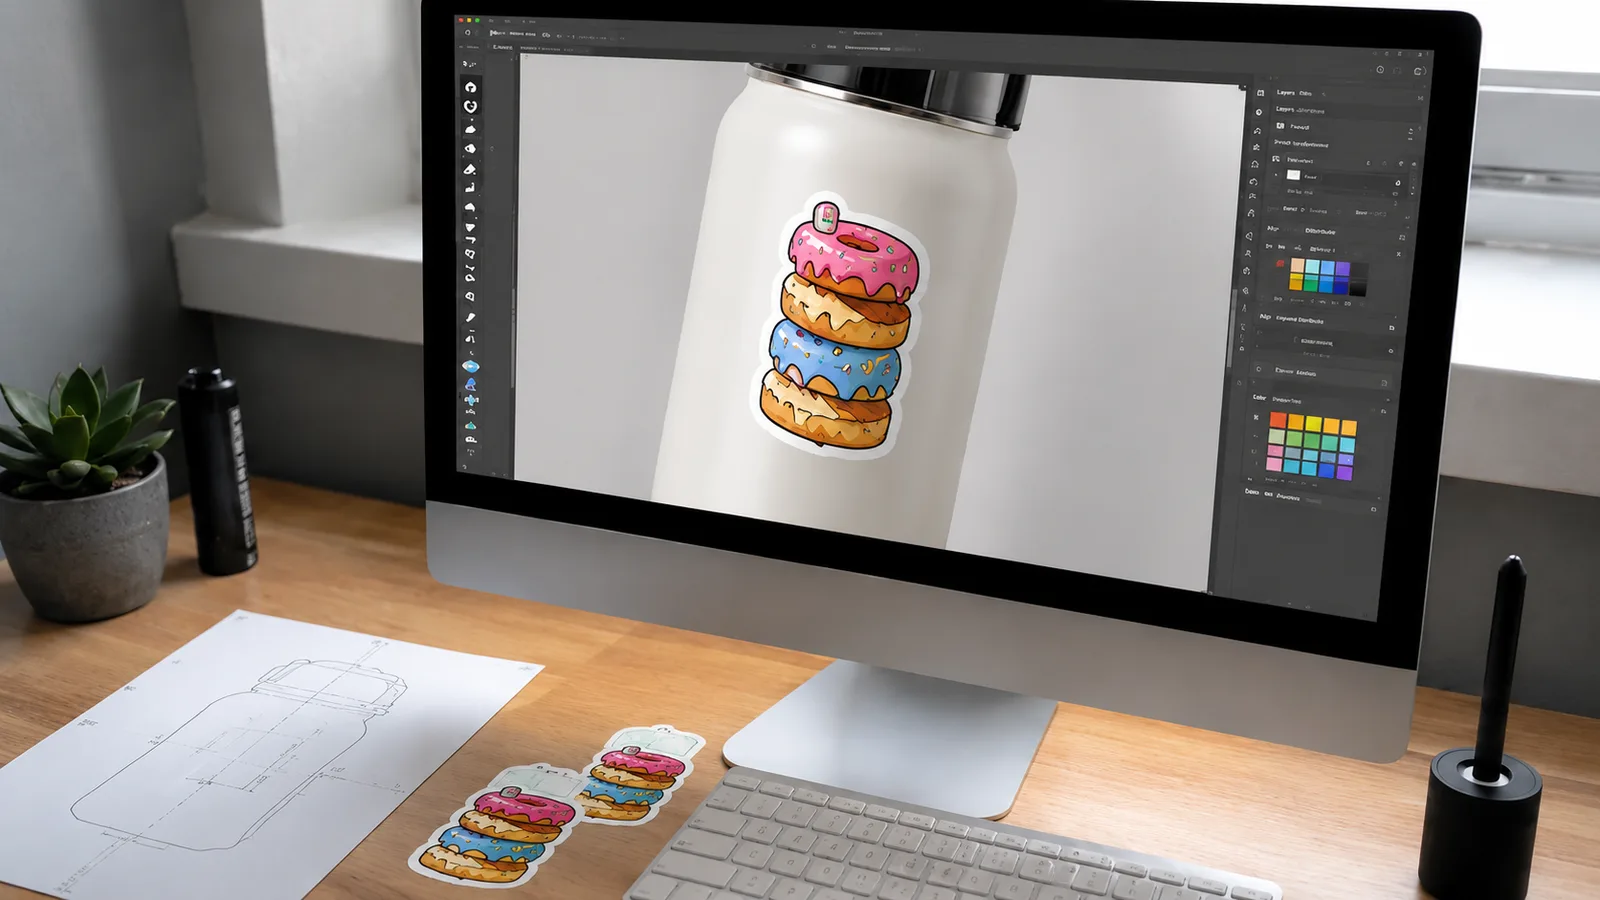
A sticker mockup is a preview of your design — digital or physical — that shows how it will actually print, so you can catch problems before you order. Previewing turns a nervous first order into a confident one. Here’s how to preview a design step by step and what to check before you approve.
Why preview your sticker before ordering?
Screens lie. Colors shift between monitor and print, cut lines don’t always fall where you expect, and small text can disappear at real size. A mockup and proof let you see the finished sticker — size, colors, cut, and bleed — before any material is printed, so there are no expensive surprises.
Types of sticker mockups
| Mockup type | What it shows | When to use |
|---|---|---|
| Digital flat mockup | Artwork, colors, and layout at size | First look at the design |
| Dieline overlay | Exact cut line and safe margins | Checking shape and bleed |
| Contextual mockup | Sticker shown on a product or surface | Judging real-world scale |
| Physical proof / sample | The real printed sticker | Final sign-off before a big run |
How to read a dieline proof
A dieline is the outline that shows where the sticker will be cut. It usually has three lines: the cut line (where the blade goes), the bleed (color extended just past the cut so no white edges appear), and the safe zone (keep text and logos inside this to avoid trimming). If your important elements sit inside the safe zone and your background reaches the bleed, your file is print-ready.
Digital proof vs physical sample
A free digital proof is fast and catches most issues — wrong colors, misplaced cut lines, low-resolution art. A physical sample costs a little time and shipping but is the only way to judge true color, material feel, and finish in your hands. For a large or first-time order, a physical proof before printing is worth it. If you’re still refining colors, our sticker color theory guide helps.
What to check before approving
- Size: confirm the real dimensions, not how big it looks on screen.
- Colors: check they match your brand; ask about CMYK conversion for bright tones.
- Cut line: make sure the shape and margins are right.
- Text & detail: confirm small text is legible at actual size.
- Spelling: proofread everything one last time.
Setting up your file? See how to design a custom sticker for artwork tips.
Frequently asked questions
How can I see what my sticker will look like before ordering?
Request a digital proof (and a physical sample for big runs) that shows size, colors, and the cut line.
What is a dieline?
The outline showing the cut line, bleed, and safe zone so your design trims correctly.
Is a digital proof enough?
For most orders yes; for large or color-critical jobs, add a physical sample.
Do you offer revisions?
Yes — revision rounds are included so you can adjust before approving.
Is a proof free?
We provide a free digital proof before printing so you can review your design.
Get a free digital proof of your design before you commit to printing.